Showing posts with label craft. Show all posts
Wednesday, July 23, 2014
Saturday, May 10, 2014
Crafting around: Modpodge glue
I have just discovered and love Modpodge glue. It sticks virtually any paper material onto any surface: ceramic, glass, etc., and dries clear. For mothers' day, we stuck photos of ourselves onto tiny glass bottles, decorated with coloured paper and smeared Modpodge all over. Voila!
Another time, I Modpodged shiny Japanese print paper onto a plain glass bottle. The result's not bad either.
Friday, May 9, 2014
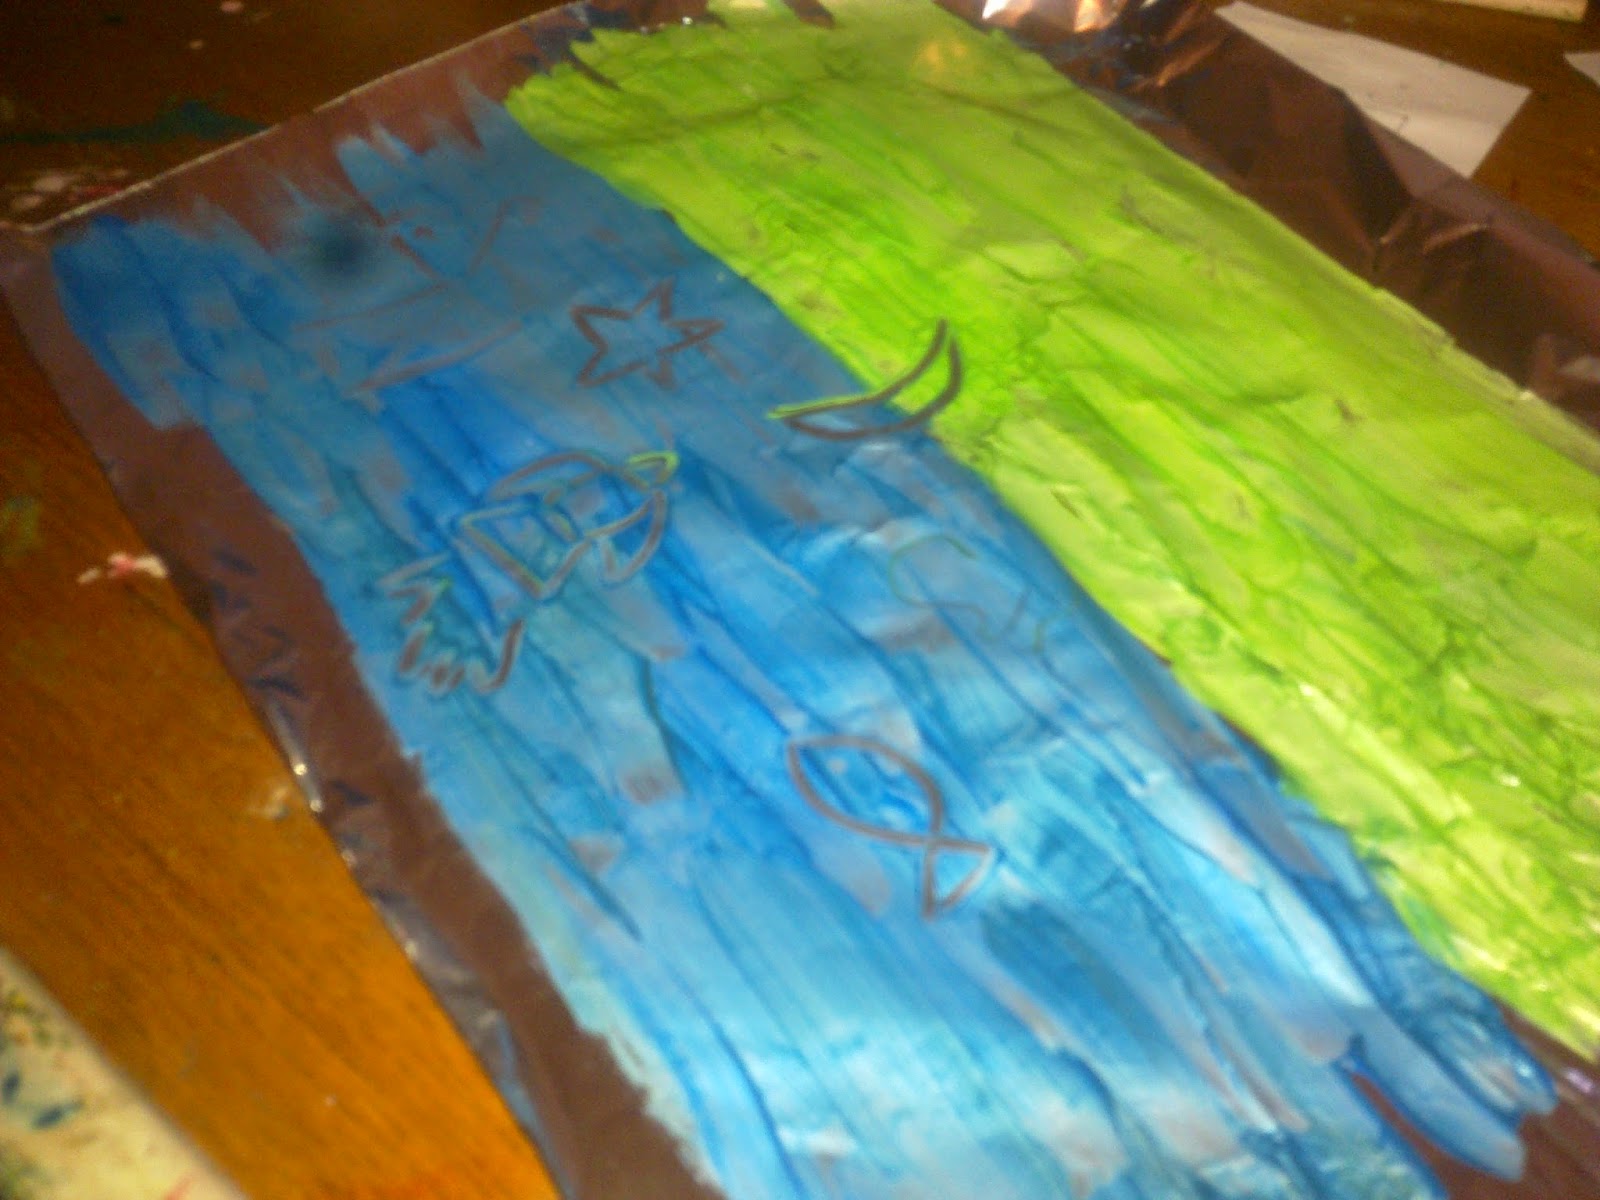
Crafting around: painting on foil
Crayola manufactures wonderful felt-tip pens and papers that produce all sorts of special colour effects. My old favourite were the "Over-writers" that let you write one colour over another. There are colourless pens that magically colour in a picture in all different colors when rubbed against the picture. Our latest purchase 'Colour Explosion Metallic' create metallic colors on special black paper.
I don't know the chemistry behind the special effects but have found a fun and (cheaper) way to approximate the effect by painting on foil. Simply paint a thin layer of poster paint on the foil, wait till it is semi-dried, then use a cotton bud to scratch out a picture! You can also use toothpicks or more pointy objects so long as you are careful not to puncture the foil.
Wednesday, September 5, 2012
Crafting around: Nature picture
Here is another craft idea I picked up from the same worksheet mentioned in my previous post. I loved doing it because it encouraged my child to get outdoors and explore the flora.
A sheet of paper
We spent twenty minutes in the beautiful spring sun picking up interesting bits of leaves and nuts. Then we simply came in and arranged our bits and pieces on a sheet of paper into a crocodile, a fish and a turtle and stuck on some googly eyes.
Can you spot them?
Crafting around: Shaving cream painting
I came cross this idea of finger painting with a twist from a worksheet that my son brought home from the children's program at BSF. It seemed so simple and so fun that we got to work straightaway!
Food colouring
Sheet of paper
On a large plate, spray a generous dollop of shaving cream. A tiny drop of food colouring will be enough to colour the whole dollop. Then, get your fingers in there and start painting!
We found the foam surprisingly easy to move around the paper (much smoother and fulsome than finger paint). The texture of the foam was wonderful to little fingers and as a bonus, my house smelt nice and fragrant afterwards!
To create a painting twice over, whilst you are spraying the shaving cream out of the can, do it slowly and try to 'draw' simple shapes like a flower or a circle with the foam. The resulting white drawing will be a nice contrast to your child's colourful smears.
Monday, June 4, 2012
Crafting around
The wet weather has meant lots of indoor time lately. Karsten, our two year old, loves making craft (or perhaps more accurately, watching Mummy make craft and occasionally assisting). Here are a few crafts that we recently enjoyed.
Last week, Karsten became fascinated with sharks after a visit to the aquarium. So we indulged liberally in this new fascination with this little piece of sea...
Material:
Clear plastic takeaway container (we used the lid of a takeaway sushi box)
Water
Agar jelly
Blue food colouring
White cardboard
To make the deep blue sea, I boiled some water (enough to fill the plastic container) and sprinkled lots of agar jelly powder into it. Once it's cooled, but not set, I poured the warm mixture into the plastic container. Then we dribbled a little bit of blue food colouring into the mixture and gave it a swirl - but not too much! - to give it a marble blue appearance.
Whilst the mixture was setting, we drew and cut out different sea creatures onto cardboard - octopus, fish, and of course, sharks. Then as the mixture solidified, we put the various animals into the ocean (best done whilst the mixture has started to harden but not completely set). An origami boat completes the scene. Now, let the hunting begin...
Material:
A plastic tray, preferably with compartments (we used the bottom of a sushi takeaway box)
Cupcakes patties
Collage paper
Straws
Blu-tack or play dough
Green paper, shredded
Brown rice, loose tea leaves
We made the flowers first by flattening the cupcake patties, and sticking a shiny piece of collage paper in the centre. A straw was stuck to the back of each flower with sticky tape (tip: different lengths of straws will look better). We put the flowers into the tray (one in each compartment if the tray has compartments) and used a lump of play dough at the end of each straw to keep the flower upright.
Now the fun (and messy) part! Into the tray, we sprinkled different kinds of "soil" (the tea leaves, brown rice, or anything else that looks similar) and then lots of grass (green paper).
The flowers bloomed for a whole day before over-enthusiastic handling saw it start to wilt.
Ocean animals
Last week, Karsten became fascinated with sharks after a visit to the aquarium. So we indulged liberally in this new fascination with this little piece of sea...
Material:
Clear plastic takeaway container (we used the lid of a takeaway sushi box)
Water
Agar jelly
Blue food colouring
White cardboard
To make the deep blue sea, I boiled some water (enough to fill the plastic container) and sprinkled lots of agar jelly powder into it. Once it's cooled, but not set, I poured the warm mixture into the plastic container. Then we dribbled a little bit of blue food colouring into the mixture and gave it a swirl - but not too much! - to give it a marble blue appearance.
Whilst the mixture was setting, we drew and cut out different sea creatures onto cardboard - octopus, fish, and of course, sharks. Then as the mixture solidified, we put the various animals into the ocean (best done whilst the mixture has started to harden but not completely set). An origami boat completes the scene. Now, let the hunting begin...
Flower pots
Neither my husband nor I have a green thumb. But I live in hope that our children might be more diligent gardeners than I am. Here's what we did to plant that seed of curiosity...
Material:
A plastic tray, preferably with compartments (we used the bottom of a sushi takeaway box)
Cupcakes patties
Collage paper
Straws
Blu-tack or play dough
Green paper, shredded
Brown rice, loose tea leaves
We made the flowers first by flattening the cupcake patties, and sticking a shiny piece of collage paper in the centre. A straw was stuck to the back of each flower with sticky tape (tip: different lengths of straws will look better). We put the flowers into the tray (one in each compartment if the tray has compartments) and used a lump of play dough at the end of each straw to keep the flower upright.
Now the fun (and messy) part! Into the tray, we sprinkled different kinds of "soil" (the tea leaves, brown rice, or anything else that looks similar) and then lots of grass (green paper).
The flowers bloomed for a whole day before over-enthusiastic handling saw it start to wilt.
Subscribe to:
Posts (Atom)